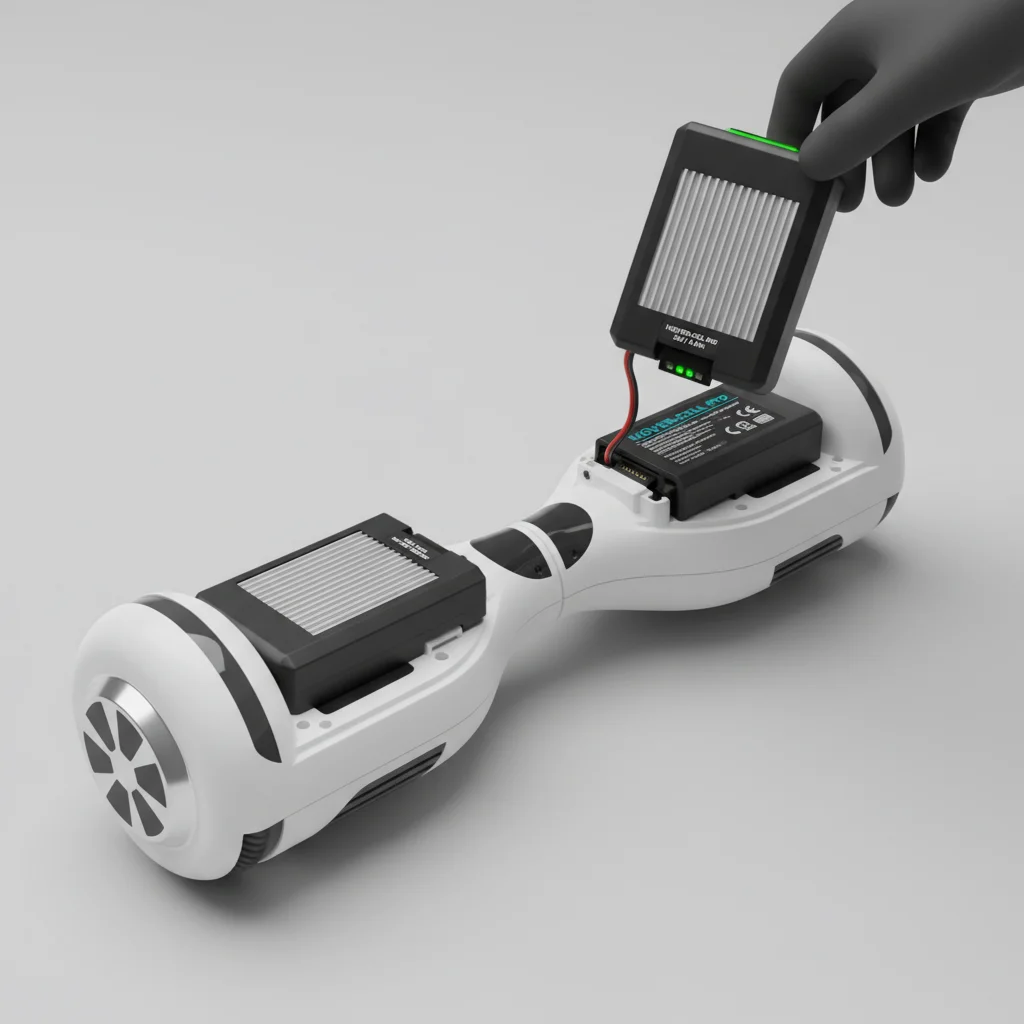
Hoverboard battery swapping can be a safe and efficient way to extend your ride time, provided you follow specific safety protocols and use compatible batteries. It involves carefully removing the depleted battery and installing a fully charged replacement. This process typically takes about 10-15 minutes for most models, making it a convenient option for riders who want to minimize downtime.
Understanding Hoverboard Battery Compatibility
Not all hoverboard batteries are interchangeable. The most critical factor is voltage; most hoverboards use 36V batteries, but some smaller models might use 24V or larger ones 42V. Always check your hoverboard’s specifications and the existing battery’s label to ensure the replacement battery matches the voltage and connector type. Using an incompatible battery can lead to serious damage to your hoverboard’s electronics or even pose a fire hazard. Additionally, consider the battery’s capacity (measured in Ah or Wh); a higher capacity means a longer ride, but ensure it physically fits within the battery compartment.
Essential Tools for a Safe Battery Swap
Before you begin the swapping process, gather the necessary tools to ensure a smooth and safe operation. You will typically need a Phillips head screwdriver to open the hoverboard casing, and sometimes a flathead screwdriver for prying. Safety gloves are recommended to protect your hands, and a non-conductive surface to work on will prevent accidental short circuits. Always have a fire extinguisher nearby as a precaution, especially when dealing with lithium-ion batteries. Ensure your workspace is well-lit and free from any flammable materials.
Step-by-Step Guide to Swapping Your Hoverboard Battery
|
Our Picks for the Best Hover Board in 2026
As an Amazon Associate I earn from qualifying purchases.
|
||
| Num | Product | Action |
|---|---|---|
| 1 | 8.5” All Terrain Hover Board, Off Road Self Balancing Scooter with Bluetooth and LED Lights, UL2272 Safety Certified |

|
| 2 | K2 Self-Balancing Scooter Go Kart with Rear Shock Absorption, Balancing Scooter Seat Attachment for 6.5" 8" 10" Tires, Adjustable Length & Off-Road Wheel( (Not Including Balancing Scooter) |
|
| 3 | Razor Hovertrax 2.0 Hoverboard, UL2272 Certified Self-Balancing Hoverboard Scooter, for Kids Age 8+ |
|
| 4 | Hover-1 My First Self Balancing Scooter for Kids with 5 mph Max Speed, Dual 150W Motors, 6.3” Tires, 3 Miles Max Range, and LED Headlights |
|
| 5 | Self-Balancing Scooter Skin Hoverboard Sticker Adult e Scooter Electric Scooter for Adults Reflective |
|
| 6 | K1 Go-Kart Seat Attachment for Self-Balancing Scooters, Adjustable Frame Fits 6.5"/8"/10" Boards, Easy Install, Kids & Family Fun (Scooter Not Included)–Classic Black |
|
| 7 | Self Balance Scooter Seat Attachment 6.5” Two-Wheel Self Balancing Electric Scooter with LED Light Flash Lights Wheels |
|
| 8 | Gyroor Self Balancing Scooters Seat Attachment - Go Kart Conversion for 6.5'' to 10'' Self Balancing Scooters, Adjustable Frame Length, Perfect for Kids and Adults |
|
| 9 | LIEAGLE Hoverboard, 6.5" Self Balancing Scooter Hover Board with Bluetooth Wheels LED Lights for Kids Adults |
|
| 10 | INMOTION E20 Electric Unicycle Hoverboard for Beginners – 14" Wheel, 900W Motor, 18.6 Miles Range, 12.5mph, UL2272 Certified – Lightweight & Safe Self-Balancing Scooter |
|
Swapping a hoverboard battery involves a few key steps. First, ensure your hoverboard is completely powered off and unplugged from any charging source. Turn the hoverboard upside down and locate the battery compartment, usually on the underside. Use your screwdriver to carefully remove the screws securing the cover. Once the cover is off, you will see the battery pack. Disconnect the battery’s power cable from the hoverboard’s main circuit board. This usually involves a simple plug-and-play connector. Carefully lift out the old battery, noting its orientation. Insert the new, fully charged battery in the same orientation, ensuring the connectors align. Reconnect the power cable, making sure it clicks securely into place. Replace the cover and tighten all screws. Finally, power on your hoverboard to test the new battery.
- Power off and unplug the hoverboard.
- Locate and open the battery compartment.
- Disconnect the old battery’s power cable.
- Remove the old battery and insert the new one.
- Reconnect the new battery’s power cable.
Safety Precautions During Battery Swapping
Safety is paramount when handling hoverboard batteries. Always wear appropriate personal protective equipment, such as gloves and eye protection. Never attempt to swap a battery that appears damaged, swollen, or is emitting a strange odor; these are signs of a potentially dangerous battery. Avoid short-circuiting the battery terminals by keeping metal objects away from them. If you notice any sparks, smoke, or excessive heat during the swap, immediately stop and move away from the hoverboard. Dispose of old batteries responsibly at designated recycling centers, as they contain hazardous materials. Never puncture or incinerate a lithium-ion battery.
Where to Find Reliable Replacement Batteries
Finding a reliable source for replacement hoverboard batteries is crucial for both safety and performance. We recommend purchasing from reputable retailers or directly from the hoverboard manufacturer. Look for batteries that are UL2271 certified, which indicates they have met stringent safety standards. Be wary of extremely cheap batteries from unknown online sellers, as these often lack proper safety certifications and may be prone to failure or overheating. Always check reviews and product specifications carefully before making a purchase.You can also consult with specialized hoverboard repair shops, as they often stock genuine or high-quality aftermarket batteries.
Get our weekly buyer guide
Practical specs, not advice. Unsubscribe anytime.
