If your hoverboard won’t turn on, the most common culprits are a dead battery, a faulty charger, or a loose internal connection. This 5-step troubleshooting guide will help you diagnose and potentially fix the issue, getting you back to riding in no time.
Check the Battery and Charger
The first and most frequent reason a hoverboard fails to power on is a depleted or faulty battery. Connect your hoverboard to its charger and observe the indicator light on the charger. A red light typically means it’s charging, while a green light indicates a full charge or no connection. If the light remains green immediately after plugging it in, or if there’s no light at all, try using a different charger if you have one available. A damaged charger cable or adapter can prevent power from reaching the battery, even if the battery itself is fine. Ensure the charging port on the hoverboard is clean and free of debris.
Inspect the Power Button and Connections
Sometimes, the issue isn’t with the power supply but with the power button itself. Gently press the power button multiple times to ensure it’s not stuck. If the button feels loose or unresponsive, it might be damaged. Additionally, internal connections can become loose over time due to vibrations and impacts. While opening your hoverboard should only be done with caution and if you’re comfortable with basic electronics, a loose wire connecting the battery to the motherboard is a common internal problem. Always disconnect the battery before attempting any internal inspection.
Reset the Hoverboard’s System
|
Our Picks for the Best Hover Board in 2026
As an Amazon Associate I earn from qualifying purchases.
|
||
| Num | Product | Action |
|---|---|---|
| 1 | Gyroor Self Balancing Scooters Seat Attachment - Go Kart Conversion for 6.5'' to 10'' Self Balancing Scooters, Adjustable Frame Length, Perfect for Kids and Adults |

|
| 2 | K1 Go-Kart Seat Attachment for Self-Balancing Scooters, Adjustable Frame Fits 6.5"/8"/10" Boards, Easy Install, Kids & Family Fun (Scooter Not Included)–Classic Black |
|
| 3 | Razor Hovertrax 2.0 Hoverboard, UL2272 Certified Self-Balancing Hoverboard Scooter, for Kids Age 8+ |
|
| 4 | Hover-1 My First Self Balancing Scooter for Kids with 5 mph Max Speed, Dual 150W Motors, 6.3” Tires, 3 Miles Max Range, and LED Headlights |
|
| 5 | LIEAGLE Hoverboard, 6.5" Self Balancing Scooter Hover Board with Bluetooth Wheels LED Lights for Kids Adults |
|
| 6 | K2 Self-Balancing Scooter Go Kart with Rear Shock Absorption, Balancing Scooter Seat Attachment for 6.5" 8" 10" Tires, Adjustable Length & Off-Road Wheel( (Not Including Balancing Scooter) |
|
| 7 | 8.5” All Terrain Hover Board, Off Road Self Balancing Scooter with Bluetooth and LED Lights, UL2272 Safety Certified |
|
| 8 | Self Balance Scooter Seat Attachment 6.5” Two-Wheel Self Balancing Electric Scooter with LED Light Flash Lights Wheels |
|
| 9 | Self-Balancing Scooter Skin Hoverboard Sticker Adult e Scooter Electric Scooter for Adults Reflective |
|
| 10 | INMOTION E20 Electric Unicycle Hoverboard for Beginners – 14" Wheel, 900W Motor, 18.6 Miles Range, 12.5mph, UL2272 Certified – Lightweight & Safe Self-Balancing Scooter |
|
Many hoverboards have a built-in reset function that can resolve minor software glitches preventing it from turning on. To perform a reset, ensure the hoverboard is off and unplugged from the charger. Place the hoverboard on a flat, level surface. Press and hold the power button for approximately 10-15 seconds until you hear a beep or see the lights flash. Release the button, then turn the hoverboard off and on again. This process can often clear minor errors that might be preventing startup.
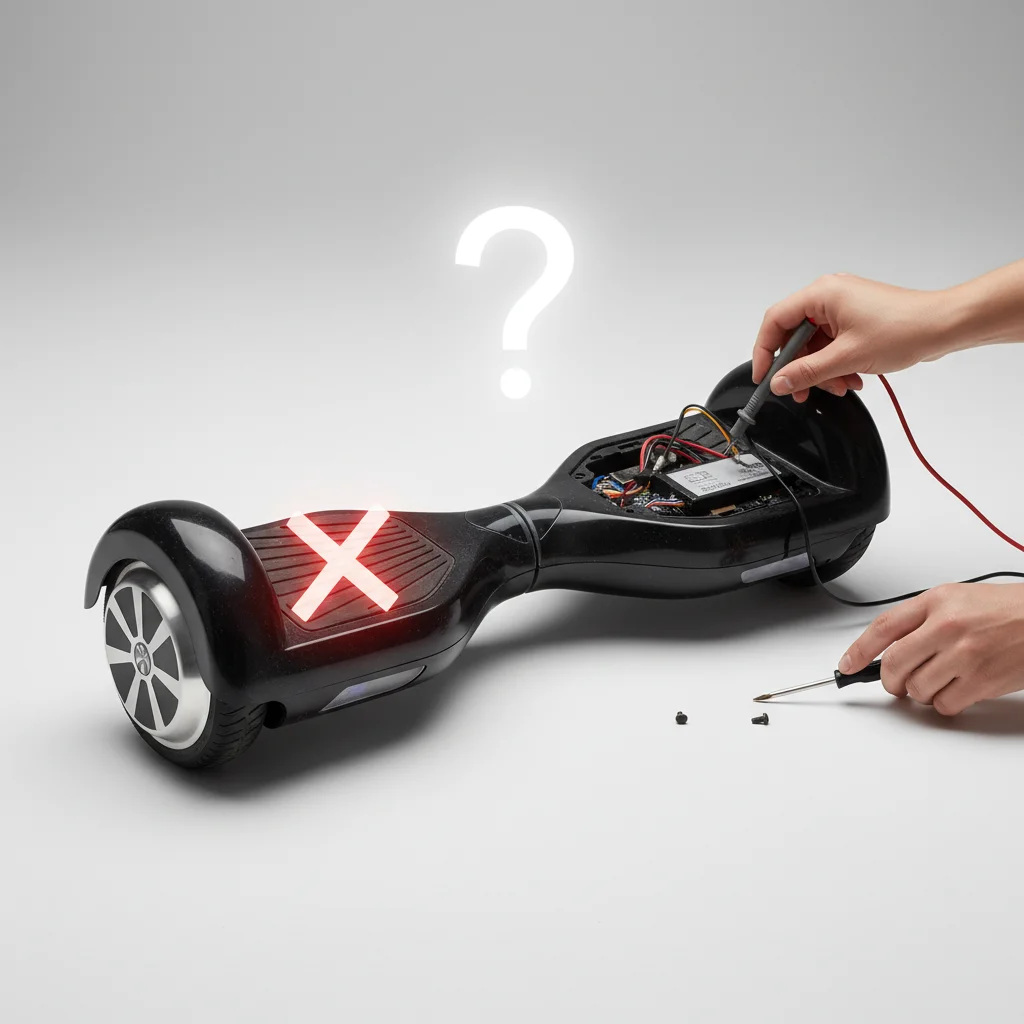
Test the Battery Voltage (Advanced)
For those with a multimeter, testing the battery’s voltage can provide a definitive answer regarding its health. A fully charged hoverboard battery should typically read between 36V and 42V. If the voltage is significantly lower, or if it reads zero, the battery is likely dead and needs replacement. Be extremely careful when handling hoverboard batteries, as they are lithium-ion and can be dangerous if mishandled. If you’re unsure, it’s best to consult a professional or consider a replacement battery kit.
Consider Professional Repair or Replacement
If you’ve gone through all the troubleshooting steps and your hoverboard still won’t turn on, it might be time to consider professional repair or a new unit. Internal component failures, such as a damaged motherboard or motor, are difficult to diagnose and fix without specialized tools and expertise. Many manufacturers offer repair services, or you can find independent repair shops. If the cost of repair approaches the price of a new hoverboard, investing in a new model might be a more economical choice. Look for models with good warranty coverage for future peace of mind.
- Check charger indicator light for proper function.
- Ensure power button is not stuck or damaged.
- Perform a system reset by holding the power button.
- Test battery voltage with a multimeter if comfortable.
- Consider professional repair or a new hoverboard if all else fails.
Remember, safety is paramount when dealing with electronics. Always follow manufacturer guidelines and disconnect power before attempting any internal inspections.
Get our weekly buyer guide
Practical specs, not advice. Unsubscribe anytime.